
I recently got a soldering iron kit with the intention of fixing a broken pedal note on my home organ. It's a cheap and cheerful kit from Amazon, probably shite in the grand scheme of things, but it will get me started.
Now, I've never used a soldering iron in my life. Let's assume I'm an idiot (not too much of a stretch), any suggestions of where I should start/how to practice before I dive into the repair itself? I'll basically be replacing a magnetic switch (glass reed switch) so it shouldn't be the most difficult thing in the world, but at the same time I don't want to make a balls of it.
Soldering iron
Soldering iron
Nerdcave: ...is no more! 
Sitting Room: Wadia 581SE - Rega Planar 3/AT VM95ML & SH - Bluesound Node II - Copland CSA 100 - Audioplan Kontrast 3
Kitchen: WiiM Pro - Wadia 151 - B&W 685s2
Sitting Room: Wadia 581SE - Rega Planar 3/AT VM95ML & SH - Bluesound Node II - Copland CSA 100 - Audioplan Kontrast 3
Kitchen: WiiM Pro - Wadia 151 - B&W 685s2
Re: Soldering iron
Hi,
One of my first jobs was populating circuit boards so I'd advise to ensure the soldering iron is at its maximun temperature before starting. I'm assuming yours doesn't have a temperature control on it. So leave it a few minutes to heat up, have a wetted sponge or damp cloth available. Apply solder to the iron and clean off on the sponge/cloth. This gets rid of the impurities on the iron and ensures the end of the iron has maximum heat across its surface.
Do a few tests on 2 wires. Next stage is called 'tinning'. Apply some solder to the wires, to do this heat up the wire with the iron then apply the solder to the wire, not the iron. it will melt instantly. Often, applying solder to the iron beforehand helps with the conductivity and helps with the flow of the solder.. Withdraw iron, do same on 2nd wire. This procedure makes soldering the 2 wires easier. So hold the 2 wires together with pliers or vice and apply iron to the the wires. Apply solder to the wires, it should flow easily. if you move the 2 wires before it has cooled down or move the iron before the solder has flowed between the 2 wires, then you may have to do it again as this can cause a 'dry joint'
So on your reed switch, tin the pin ends first before fully soldering to the organ connection. The time you need to apply the iron to the wire/pins depends on the size of the wire/pins etc.
If you ever start soldering other parts of a circuit , please note that some integrated circuit chips are very sensitive to the heat so only apply the iron for a very short time, unless you have a heatsink available.
Good luck.
Ian
Re: Soldering iron
Thank you for that, Ian, it's much appreciated. The iron has a temperature control, but who knows how realistic it is. One way or the other I'm going to practise on a few bits of wire before I dive into the real thing.
Thanks again.
Thanks again.
Nerdcave: ...is no more!
Sitting Room: Wadia 581SE - Rega Planar 3/AT VM95ML & SH - Bluesound Node II - Copland CSA 100 - Audioplan Kontrast 3
Kitchen: WiiM Pro - Wadia 151 - B&W 685s2
Sitting Room: Wadia 581SE - Rega Planar 3/AT VM95ML & SH - Bluesound Node II - Copland CSA 100 - Audioplan Kontrast 3
Kitchen: WiiM Pro - Wadia 151 - B&W 685s2
Re: Soldering iron
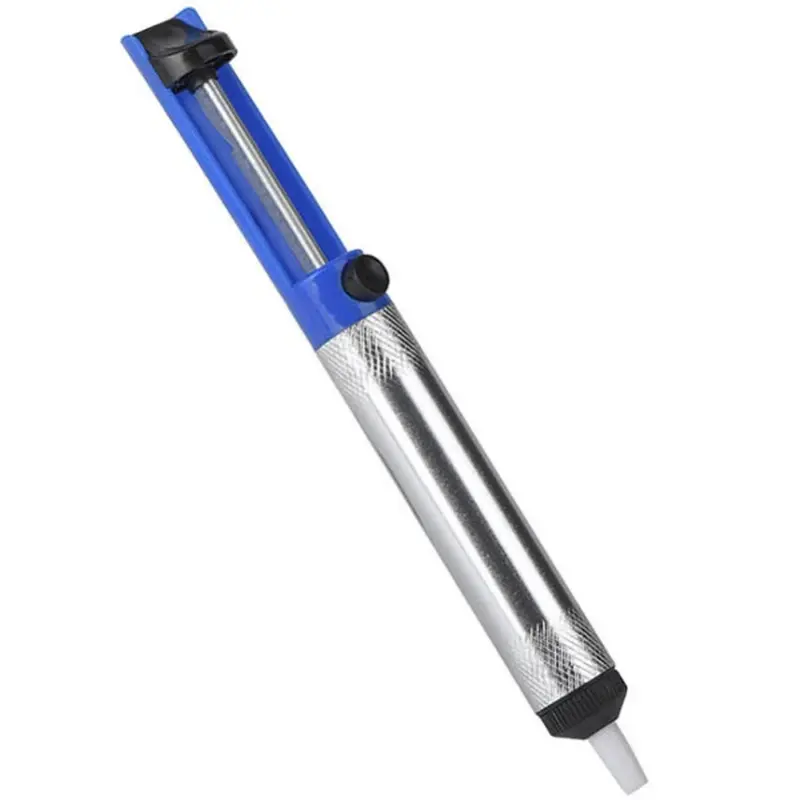
One of these is useful too if you get too much solder on the connectors.
Re: Soldering iron
There's one of those in the kit, too.
- 20230501_182323.jpg (199.89 KiB) Viewed 713 times
Nerdcave: ...is no more!
Sitting Room: Wadia 581SE - Rega Planar 3/AT VM95ML & SH - Bluesound Node II - Copland CSA 100 - Audioplan Kontrast 3
Kitchen: WiiM Pro - Wadia 151 - B&W 685s2
Sitting Room: Wadia 581SE - Rega Planar 3/AT VM95ML & SH - Bluesound Node II - Copland CSA 100 - Audioplan Kontrast 3
Kitchen: WiiM Pro - Wadia 151 - B&W 685s2
Re: Soldering iron
Nice. Multimeters always come in handy.

Re: Soldering iron
Good idea to practice on something disposable first for sure.
Clean the tip using a damp sponge, and then coat the tip with a small amount of the solder.
Clean the thing you want to solder if you can - an old toothbrush with a bit of contact cleaner or isopropanol will work well.
Making sure the iron is fully heated up, bring it up to the point of contact, touch a bit of solder into the gap so that a little liquid pool forms - this helps the heat transfer to the item being soldered. Once the wire or whatever is loose, take away the iron. Reverse the operation for the new part.
Don't move the new part until the solder has solidified. Send pics if you are unsure.....
Very good videos for a complete beginner on youtube - well worth spending an hour or so browsing there, easier than trying to fix something afterwards!
Do or do not, there is no try
Re: Soldering iron
Thanks Fran.
Nerdcave: ...is no more!
Sitting Room: Wadia 581SE - Rega Planar 3/AT VM95ML & SH - Bluesound Node II - Copland CSA 100 - Audioplan Kontrast 3
Kitchen: WiiM Pro - Wadia 151 - B&W 685s2
Sitting Room: Wadia 581SE - Rega Planar 3/AT VM95ML & SH - Bluesound Node II - Copland CSA 100 - Audioplan Kontrast 3
Kitchen: WiiM Pro - Wadia 151 - B&W 685s2
Re: Soldering iron
Hi folks,
I have a pair of the little Falcon speakers, unfortunately the couple of wires attaching the board to the terminals came loose. Is there anyone that wouldn't mind doing a quick solder job? I've no experience and fear messing up on first go. I'm based in south Dub but happy to come to yours of course. Thanks.
I have a pair of the little Falcon speakers, unfortunately the couple of wires attaching the board to the terminals came loose. Is there anyone that wouldn't mind doing a quick solder job? I've no experience and fear messing up on first go. I'm based in south Dub but happy to come to yours of course. Thanks.
Re: Soldering iron
I could help here. Ill send on a PM